The recommended way of setting up development environment for LibreHealth Radiology is using Docker. See this blog posts for instructions on how to use docker for your development environment. See blog post here Development environment with Docker.
But some people have been having some timeout issues with mysql using the docker setup. So this is an alternative way to setup your environment. But I’d recommend you try with the docker setup first.
Prerequisites
- Java 8
- Tomcat
- mysql
- git
- maven
- IDE
Please see their respective documentations for instructions on how to install them.
Procedure
Setup Toolkit
LibreHealth Radiology is just a module that runs on a LibreHealth Toolkit server. So to setup radiology you need to first setup a toolkit server.
Clone the toolkit code from GitLab
git clone https://gitlab.com/librehealth/lh-toolkit.git
Now build the code
cd lh-toolkit
mvn clean package
You might encounter a test failure during the build. I did. You should skip the tests using
mvn clean package -DskipTests
Now you need to deploy the generated .war file to tomcat. But the build generated an openmrs.war file instead of lh-toolkit.war. This is because toolkit is a fork from openmrs and the build still generates an openmrs.war instead. That is easy to fix. We’ll just rename the file to lh-toolkit.war. For that run the following code
cd /webapp/target/
mv openmrs.war lh-toolkit.war
Now you need to copy this .war file to the tomcat webapps folder. My tomcat installation directory is /Library/Tomcat. You need to replace that in the command below with your actual tomcat directory
mv lh-toolkit /Library/Tomcat/webapps/
Now you restart tomcat and open your browser to http://localhost:8080/lh-toolkit/
You’ll be presented with an installation wizard to complete the installation of toolkit.
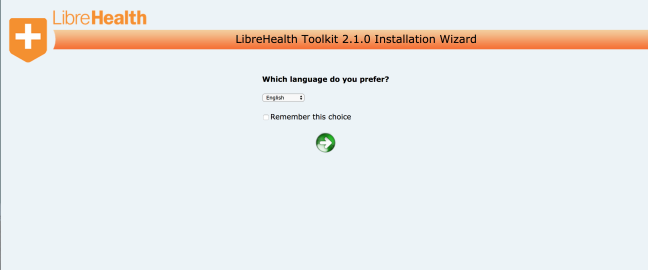
Select your language and take next
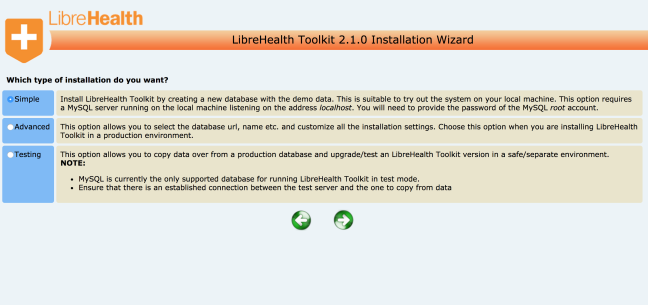
Make sure simple install is selected and move forward

Enter your mysql root password and move forward.

Scroll to the bottom of this page and take note of the directory where the
lh-toolkit-runtime.properties file is kept.

For me it’s in /Users/larry/.OpenMRS/lh-toolkit/ it might be different for you. Take note of it and move forward.
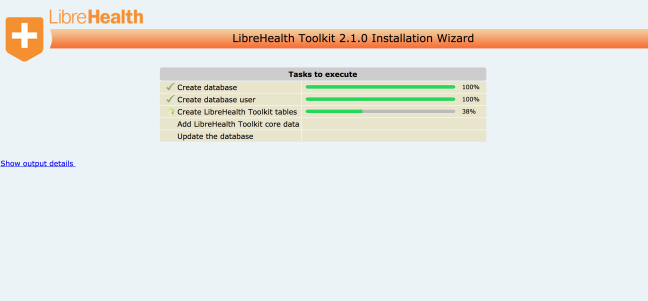
Wait for installation to complete.
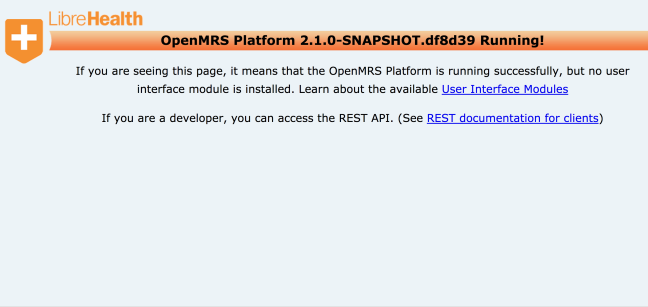
If your output is like mine above that means you have successfully installed toolkit. The OpenMRS name there is a bug. I’ll create an issue for it. Now you need to install a user interface since as from 2.0 of toolkit the user interface was removed and it’s just an api server now. You are free to build which ever user interface you want to work interact with it.
For Radiology, we’ll be using the legacyui module. You have to clone and build it too then install the module. For that Follow the instructions below.
Install a User Interface
We’ll first clone the legacyui module from gitlab using
git clone https://gitlab.com/librehealth/lh-toolkit-legacyui.git
Now build a .omod file
cd lh-toolkit-legacyui/
mvn clean package
Once the build is done and successful, do
ls omod/target
And you’ll see a file called legacyui-1.2-SNAPSHOT.omod the version number may differ from this depending on when you doing the setup.
Remember the directory I told you to take note of, the directory containing the lh-toolkit-runtime.properties file?
Yes. That one. For me it was /Users/larry/.OpenMRS/lh-toolkit. There is a subdirectory called modules. You have to copy the .omod file to that directory. For that do
cp omod/target/legacyui-1.2-SNAPSHOT.omod /Users/larry/.OpenMRS/lh-toolkit/modules
Don’t forget to replace this /Users/larry/.OpenMRS/lh-toolkit/modules with the equivalent on your machine
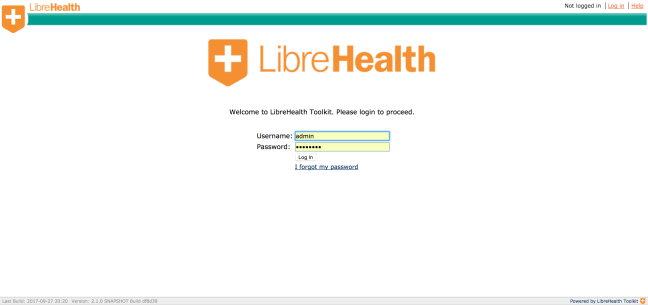
Now restart tomcat and visit http://localhost:8080/lh-toolkit/
You should see this
Instead of the page above you may see the error below
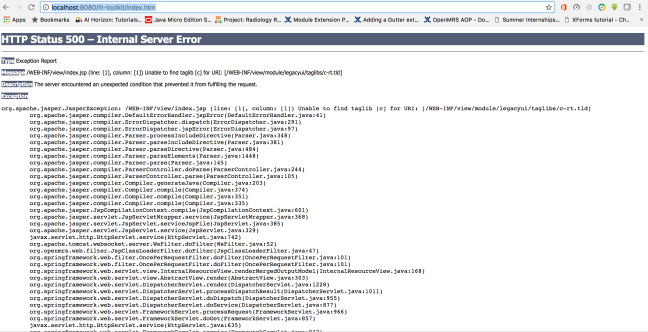
Try restarting tomcat one or two times again and see.
You may notice that home page is a little different from the demo website. In the demo website the green bar is orange. That is easy to fit
Go to Administration under the maintenance section, click on settings

You’ll see a setting for theme. Enter orange and safe.

Your application should now look like below

Now we are going to deploy the radiology module.
Deploy Radiology Module
The radiology module has dependencies on OpenMRS REST module and Open Web Apps module. You have to download those and install first before proceeding with deploying radiology. To get these modules visit https://modules.openmrs.org/#/search and search for open web apps to download the open web apps module. You should endup with a file named owa-1.7.0.omod. The version may differ depending on the time you do the download.
Search `rest webservices` to get the webservices module. You may see to versions like below. Don’t take the extension. See the screenshot below, the second one is the right one
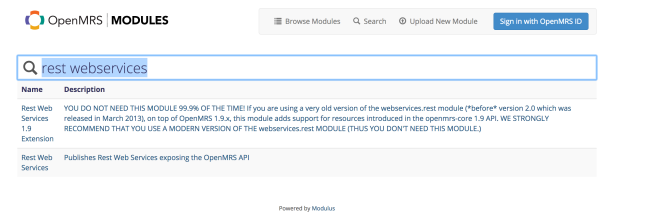
You’ll end up with a file like webservices.rest-2.20.0.omod and you can now install these omods just like you installed the legacyui module. But I’ll show you another method below how to do it graphically. This just so you know that this method is also available. In the future you are free to either us command line or this method.
While logged in to toolkit, go to Administration

Click on manage modules

Click on the Add or Upgrade Module button

Now choose the omod files of the module you want to install and click upload

Now proceed with radiology
Since you’ll be contributing to the radiology module, you should fork the repo.
Clone your fork
git clone https://gitlab.com/YourGitLabID/lh-radiology.git
cd lh-radiology
Add a remote pointing to the original repo
git remote add upstream https://gitlab.com/librehealth/lh-radiology.git
Fetch all branches
git fetch --all
Pull latest changes
git pull --rebase upstream master
Then build code
mvn clean package
That will generate a .omod file and you are free to deploy it using any of the methods see fit. You final home page should look like this, note the link to Radiology on the navbar

Please leave feedback in the comment sections below.
